
After a few weeks off the air from the mobile after getting the new car, I took the time Saturday to get a radio installed! I thought I was going to be in for a difficult install, having to watch for any goofy electronics that may have been put in line, or not have an easy spot to route power cables through the firewall, but in all honesty, this was the easiest install job I’ve done in any of my cars to date, and here’s how I did it…
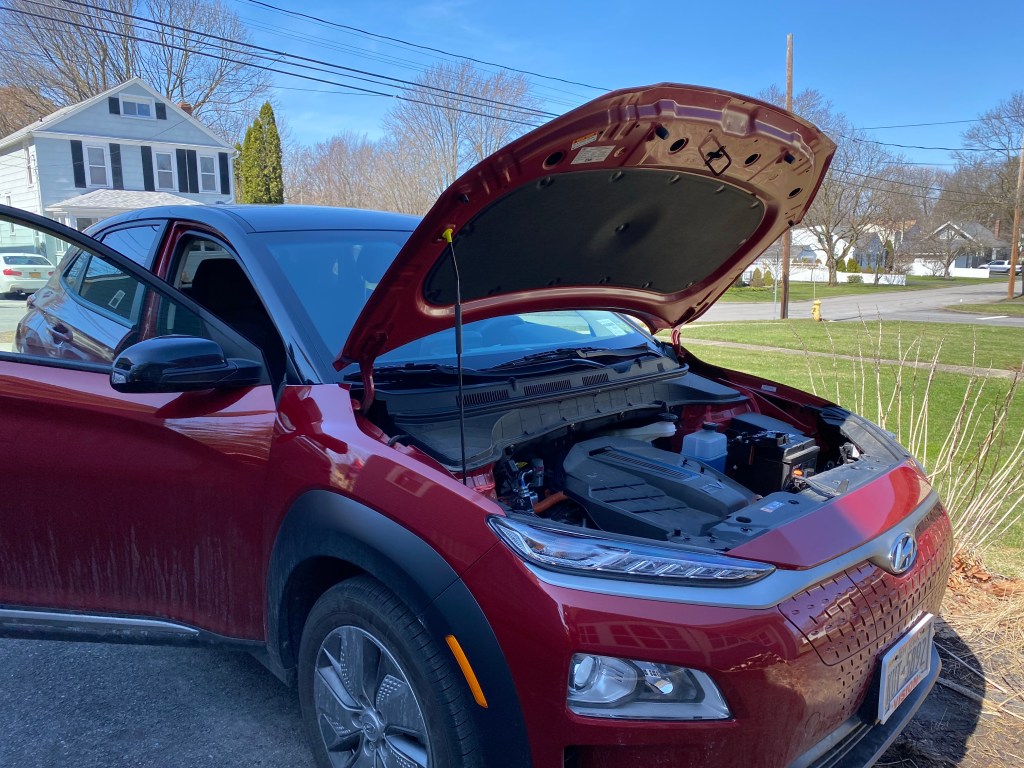
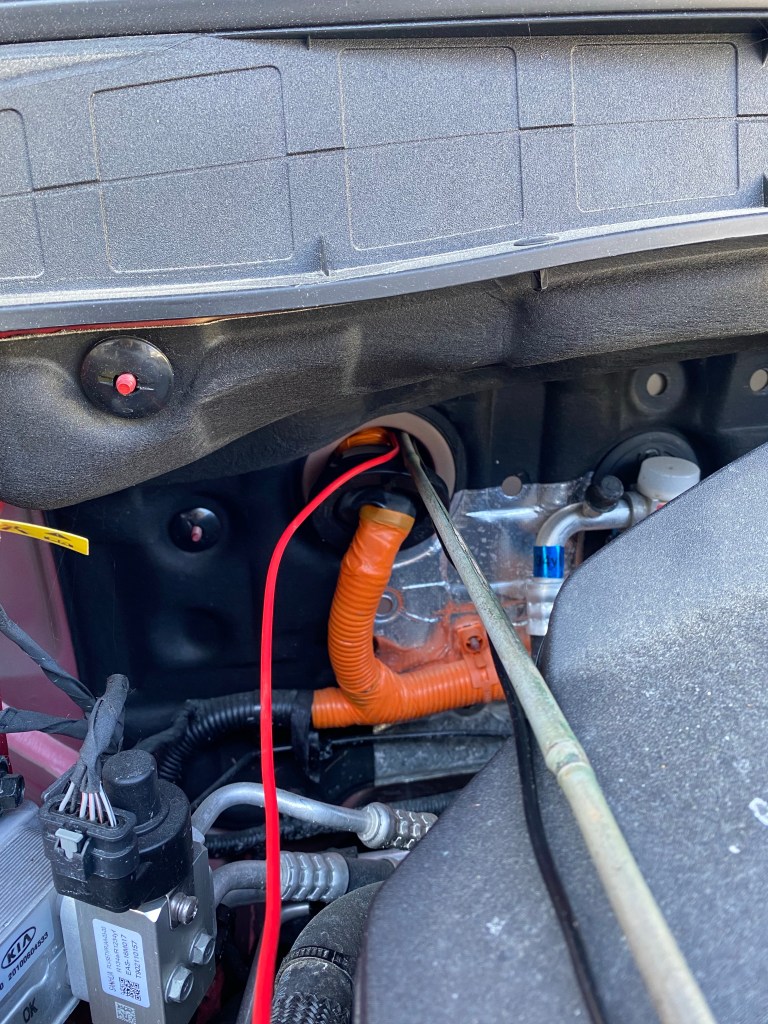
The Hyundai Kona Electric is a little different than some of the other EV’s on the market, it doesn’t have the “frunk” and opts to store the main electric motor under the hood, which allows for additional battery space below the floorboards. This is a design choice that Chevy has gone with as well – with a FWD vehicle it does still provide some additional weight in the front but has that fairly even distribution provided by the weight of the batteries that we’ve come to expect from electric car designs. This additional usage of the hood space for components provides ease of access to one of the few traditional electrical pieces – an Accessory Battery. I haven’t taken too deep of a dive into the service manual yet to see exactly how it recharges as I cannot find a traditional alternator, however if I had to guess, I’d assume that the drive batteries keep the house battery trickle charged as need arises. This battery. when it dies, causes the electronic “ignition” system to go down, and like any other vehicle requires a jump start if that happens.

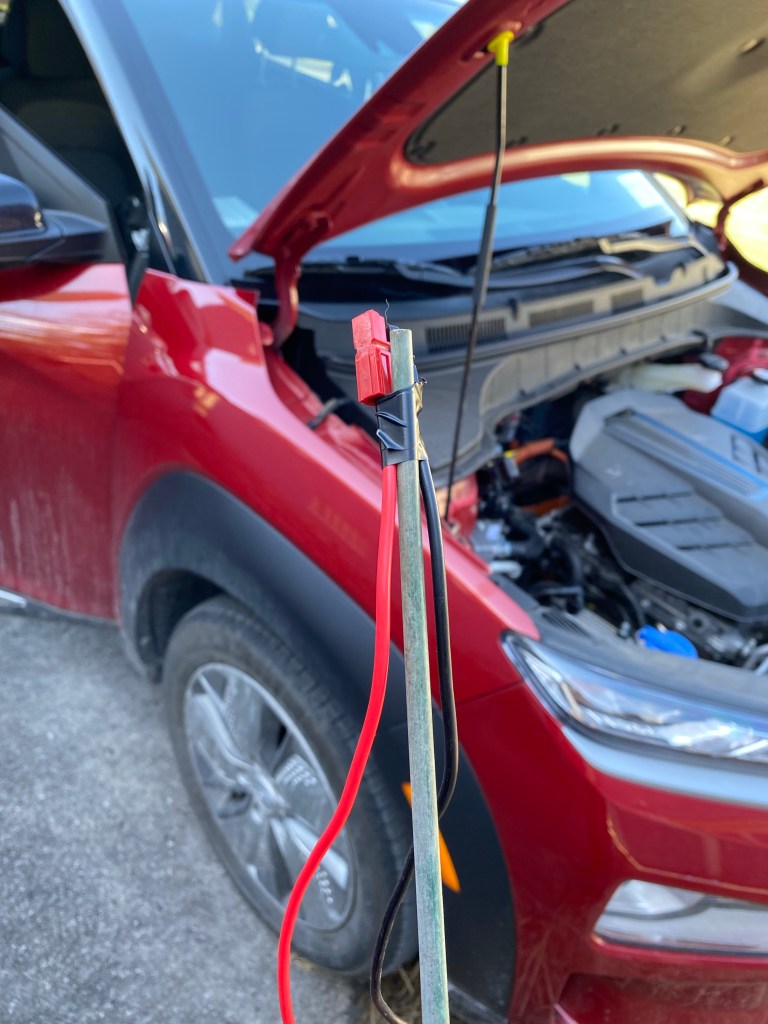
With so much open space, I was very easily able to find somewhere to push through the firewall and route the power lines in, though it was not as easy to get to from the other side…
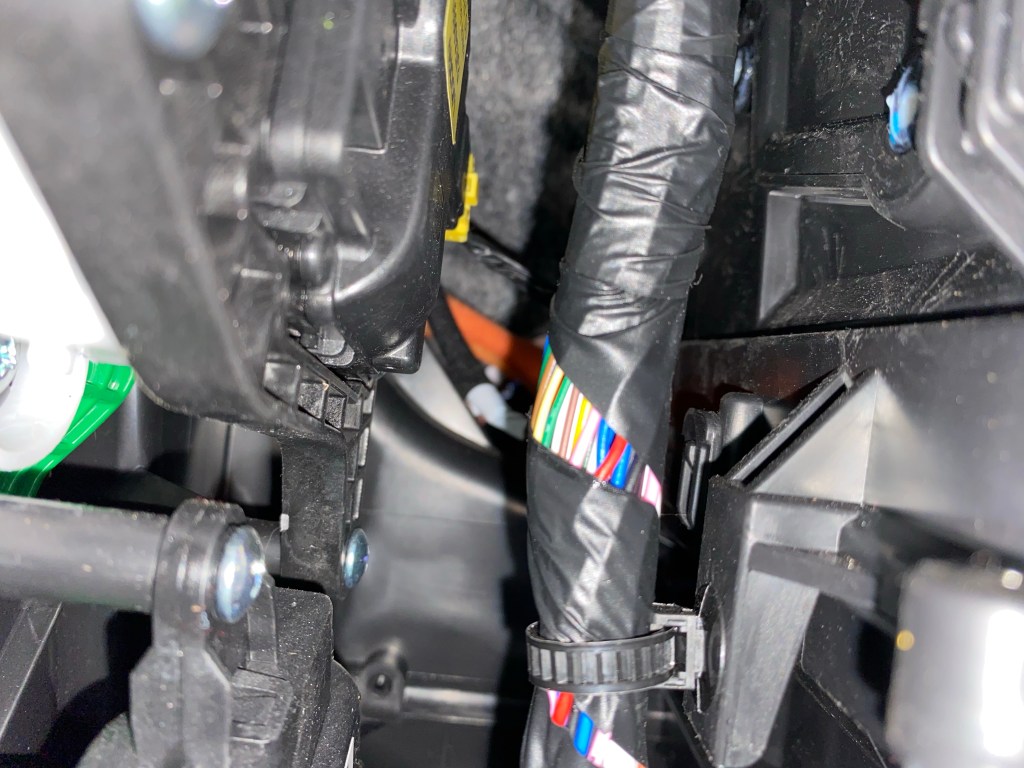
With a little help from the most professional of tools (a stick and some electrical tape), I was able to very easily push the cord through and hook power in. The rubber seal that I pushed the cable on the outside of was (luckily) able to lock around the wire, so I did not have to rerun this after I realized what I did – maybe I shouldn’t have been multitasking here…
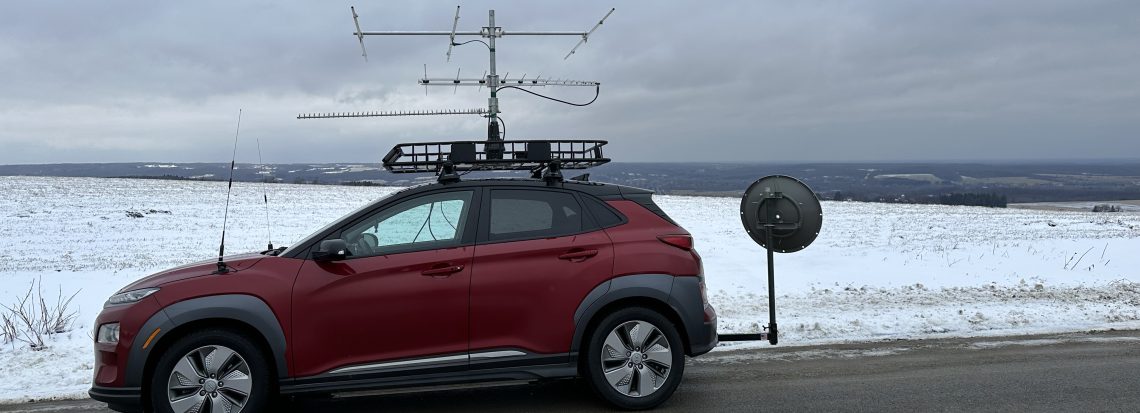
I opted for lip mounts for the antennas for the time being, I’ve used them on all three of my previous cars, and just like the way they sit.

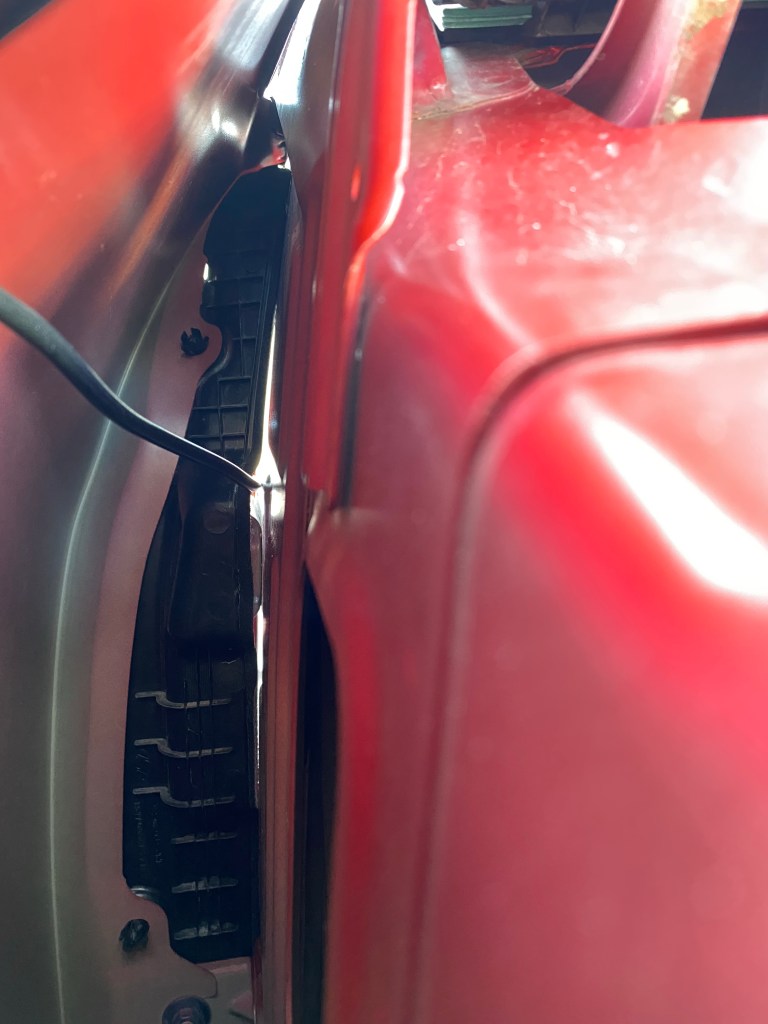
I first attempted to route the antenna cable around the outside of the vehicle based on how previous cards I’ve owned are laid out, but noticed a sealed gap above the wheel well that’s accessible when the hood is open, and behind that was a plastic panel going to the passenger side door frame – I was able to finagle the connector end of the coax through there, allowing only what I needed to in the car, and bundling the rest in that gap of unused space making for a much neater cabin cable bundle!
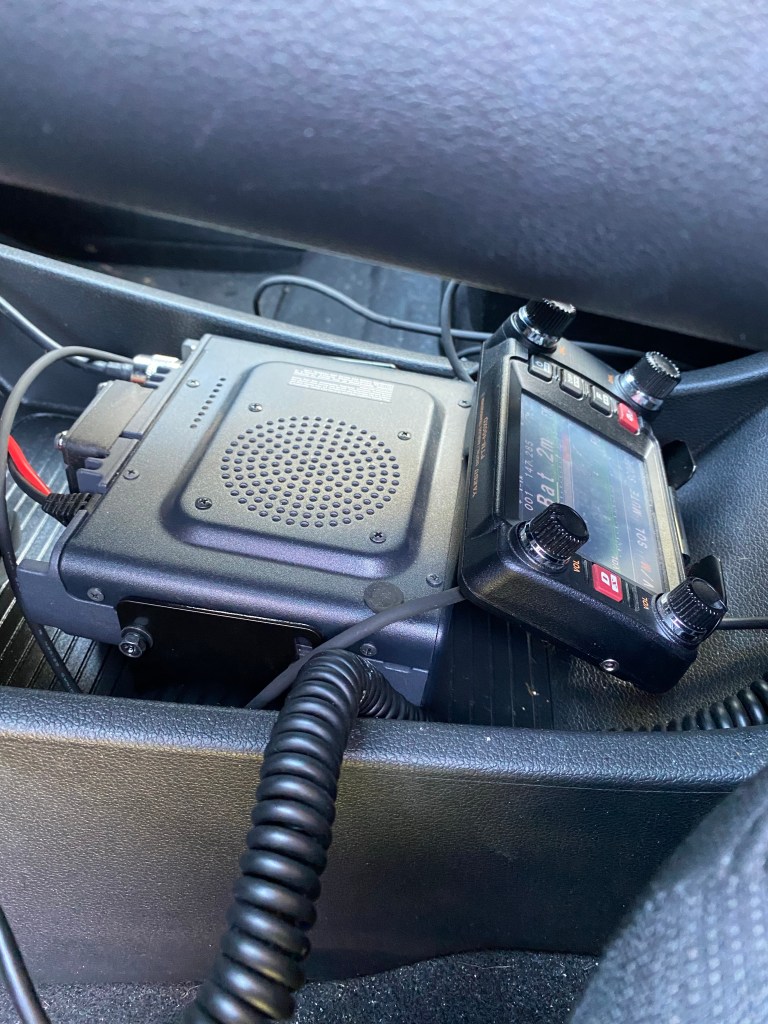
While I still have some work to do as far as mounting the control head in an easily accessible place, the RF deck is right where it’s going to stay, I think, and I’m leaning towards a Lido Seat Bolt Mount for the control head – with an extension plate to be able to clip on the 5100 as well – just because of the way the dash is laid out in this car, it doesn’t bode well a nice layout elsewhere.

Now… if we can just get things squarred away with the DMV and I can get my call plates transferred over here, we’ll be all set!
